
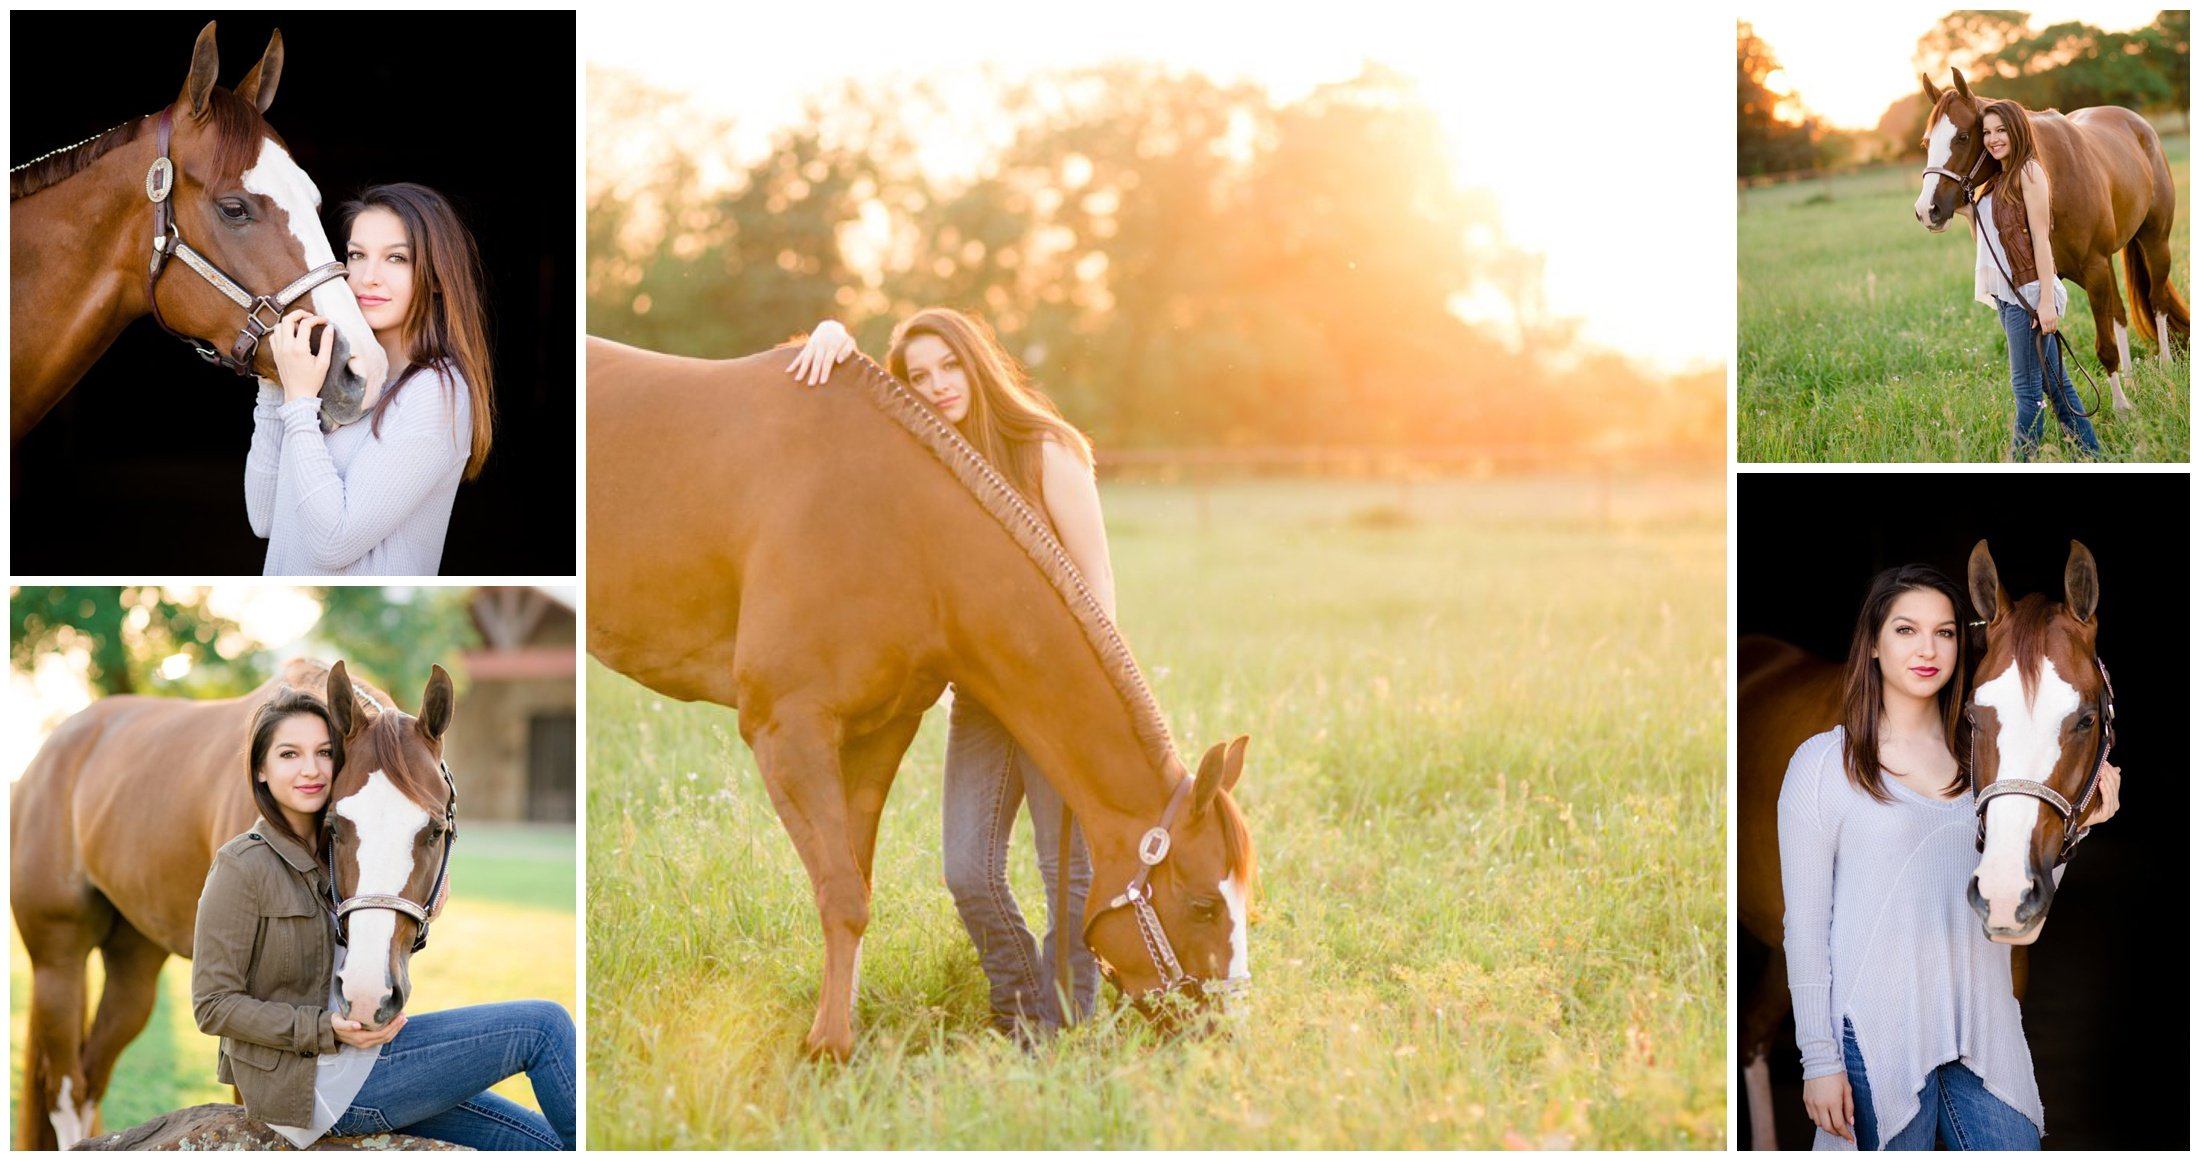
Devin Territo is a makeup artist extraordinaire and a great friend of mine. Devin and I have worked together since 2015, flying coast-to-coast to glam up and photograph girls and their horses. As an avid equestrian herself, she has a firm understanding of the nuances to adapt your makeup application from special events, to the show arena, to a photoshoot. I’ve asked her to share a few of her secrets to getting your makeup photoshoot-ready!
How to Do Makeup For a Photo Shoot
Written by DT ARTISTRY
This post contains affiliate links. As an Amazon Associate, DT Artistry may earn money from qualifying purchases.
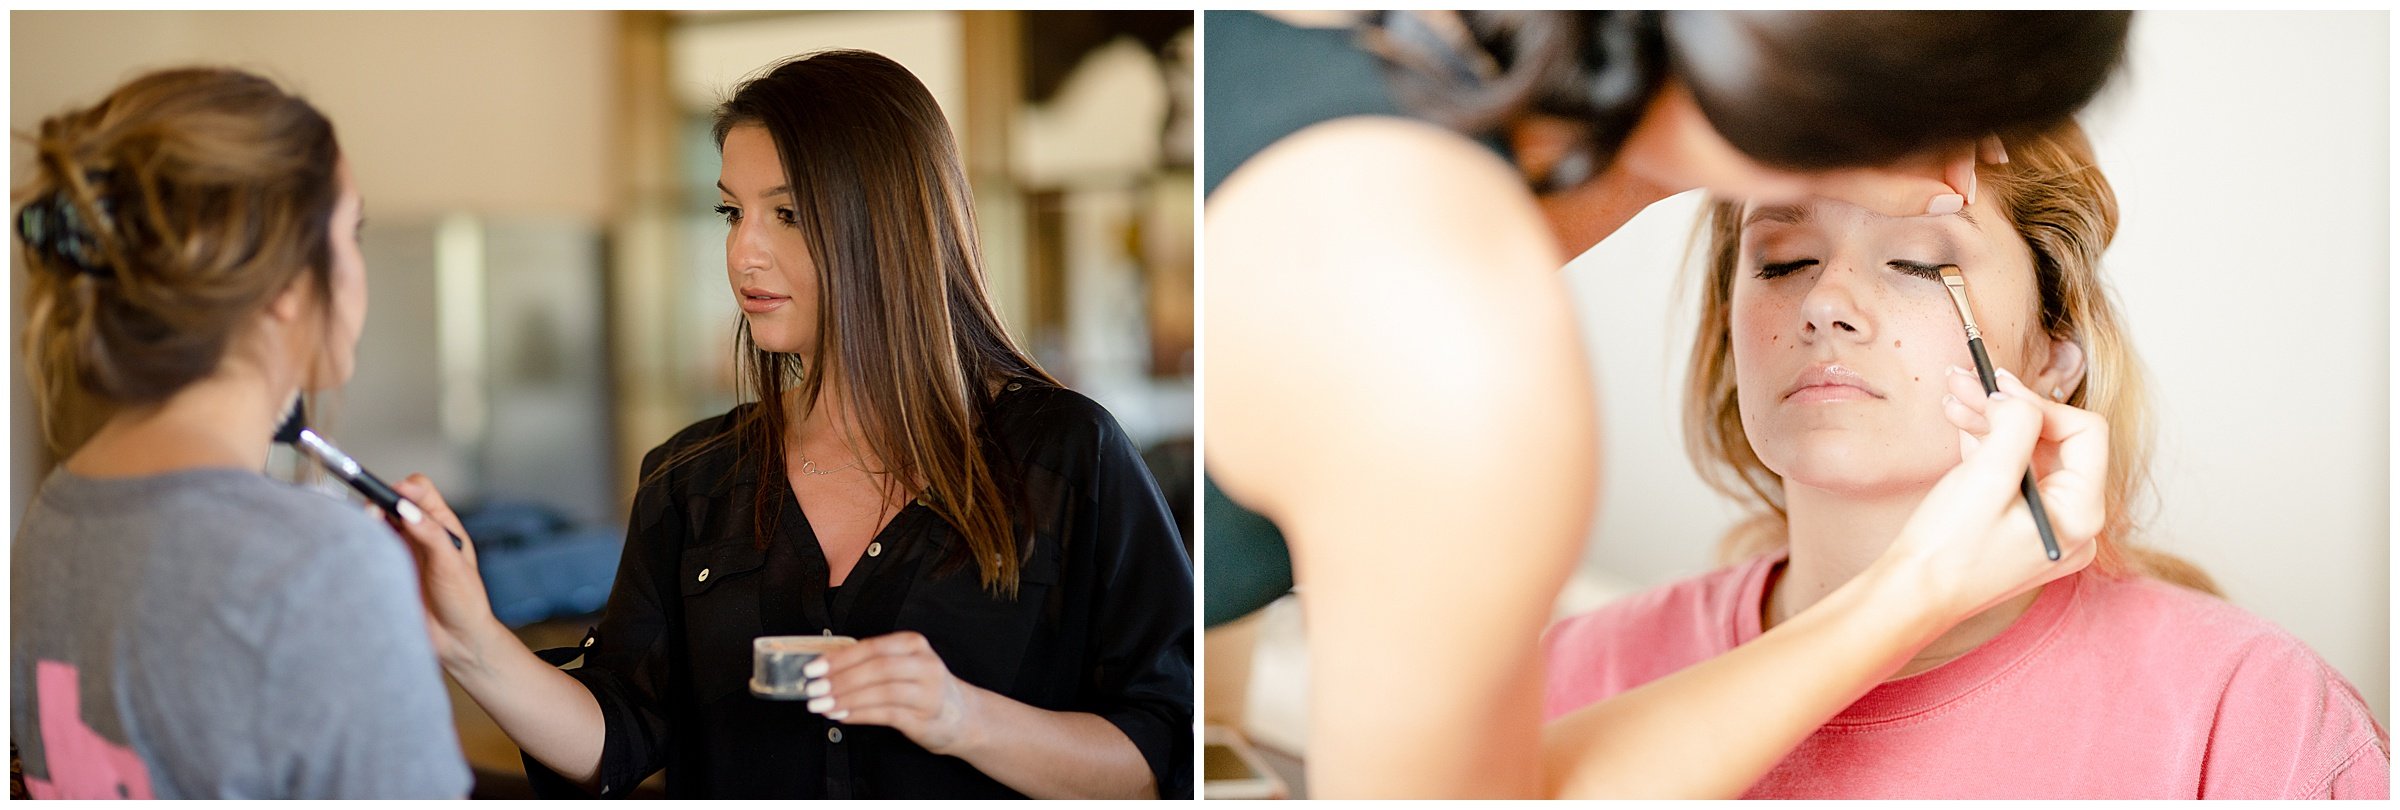
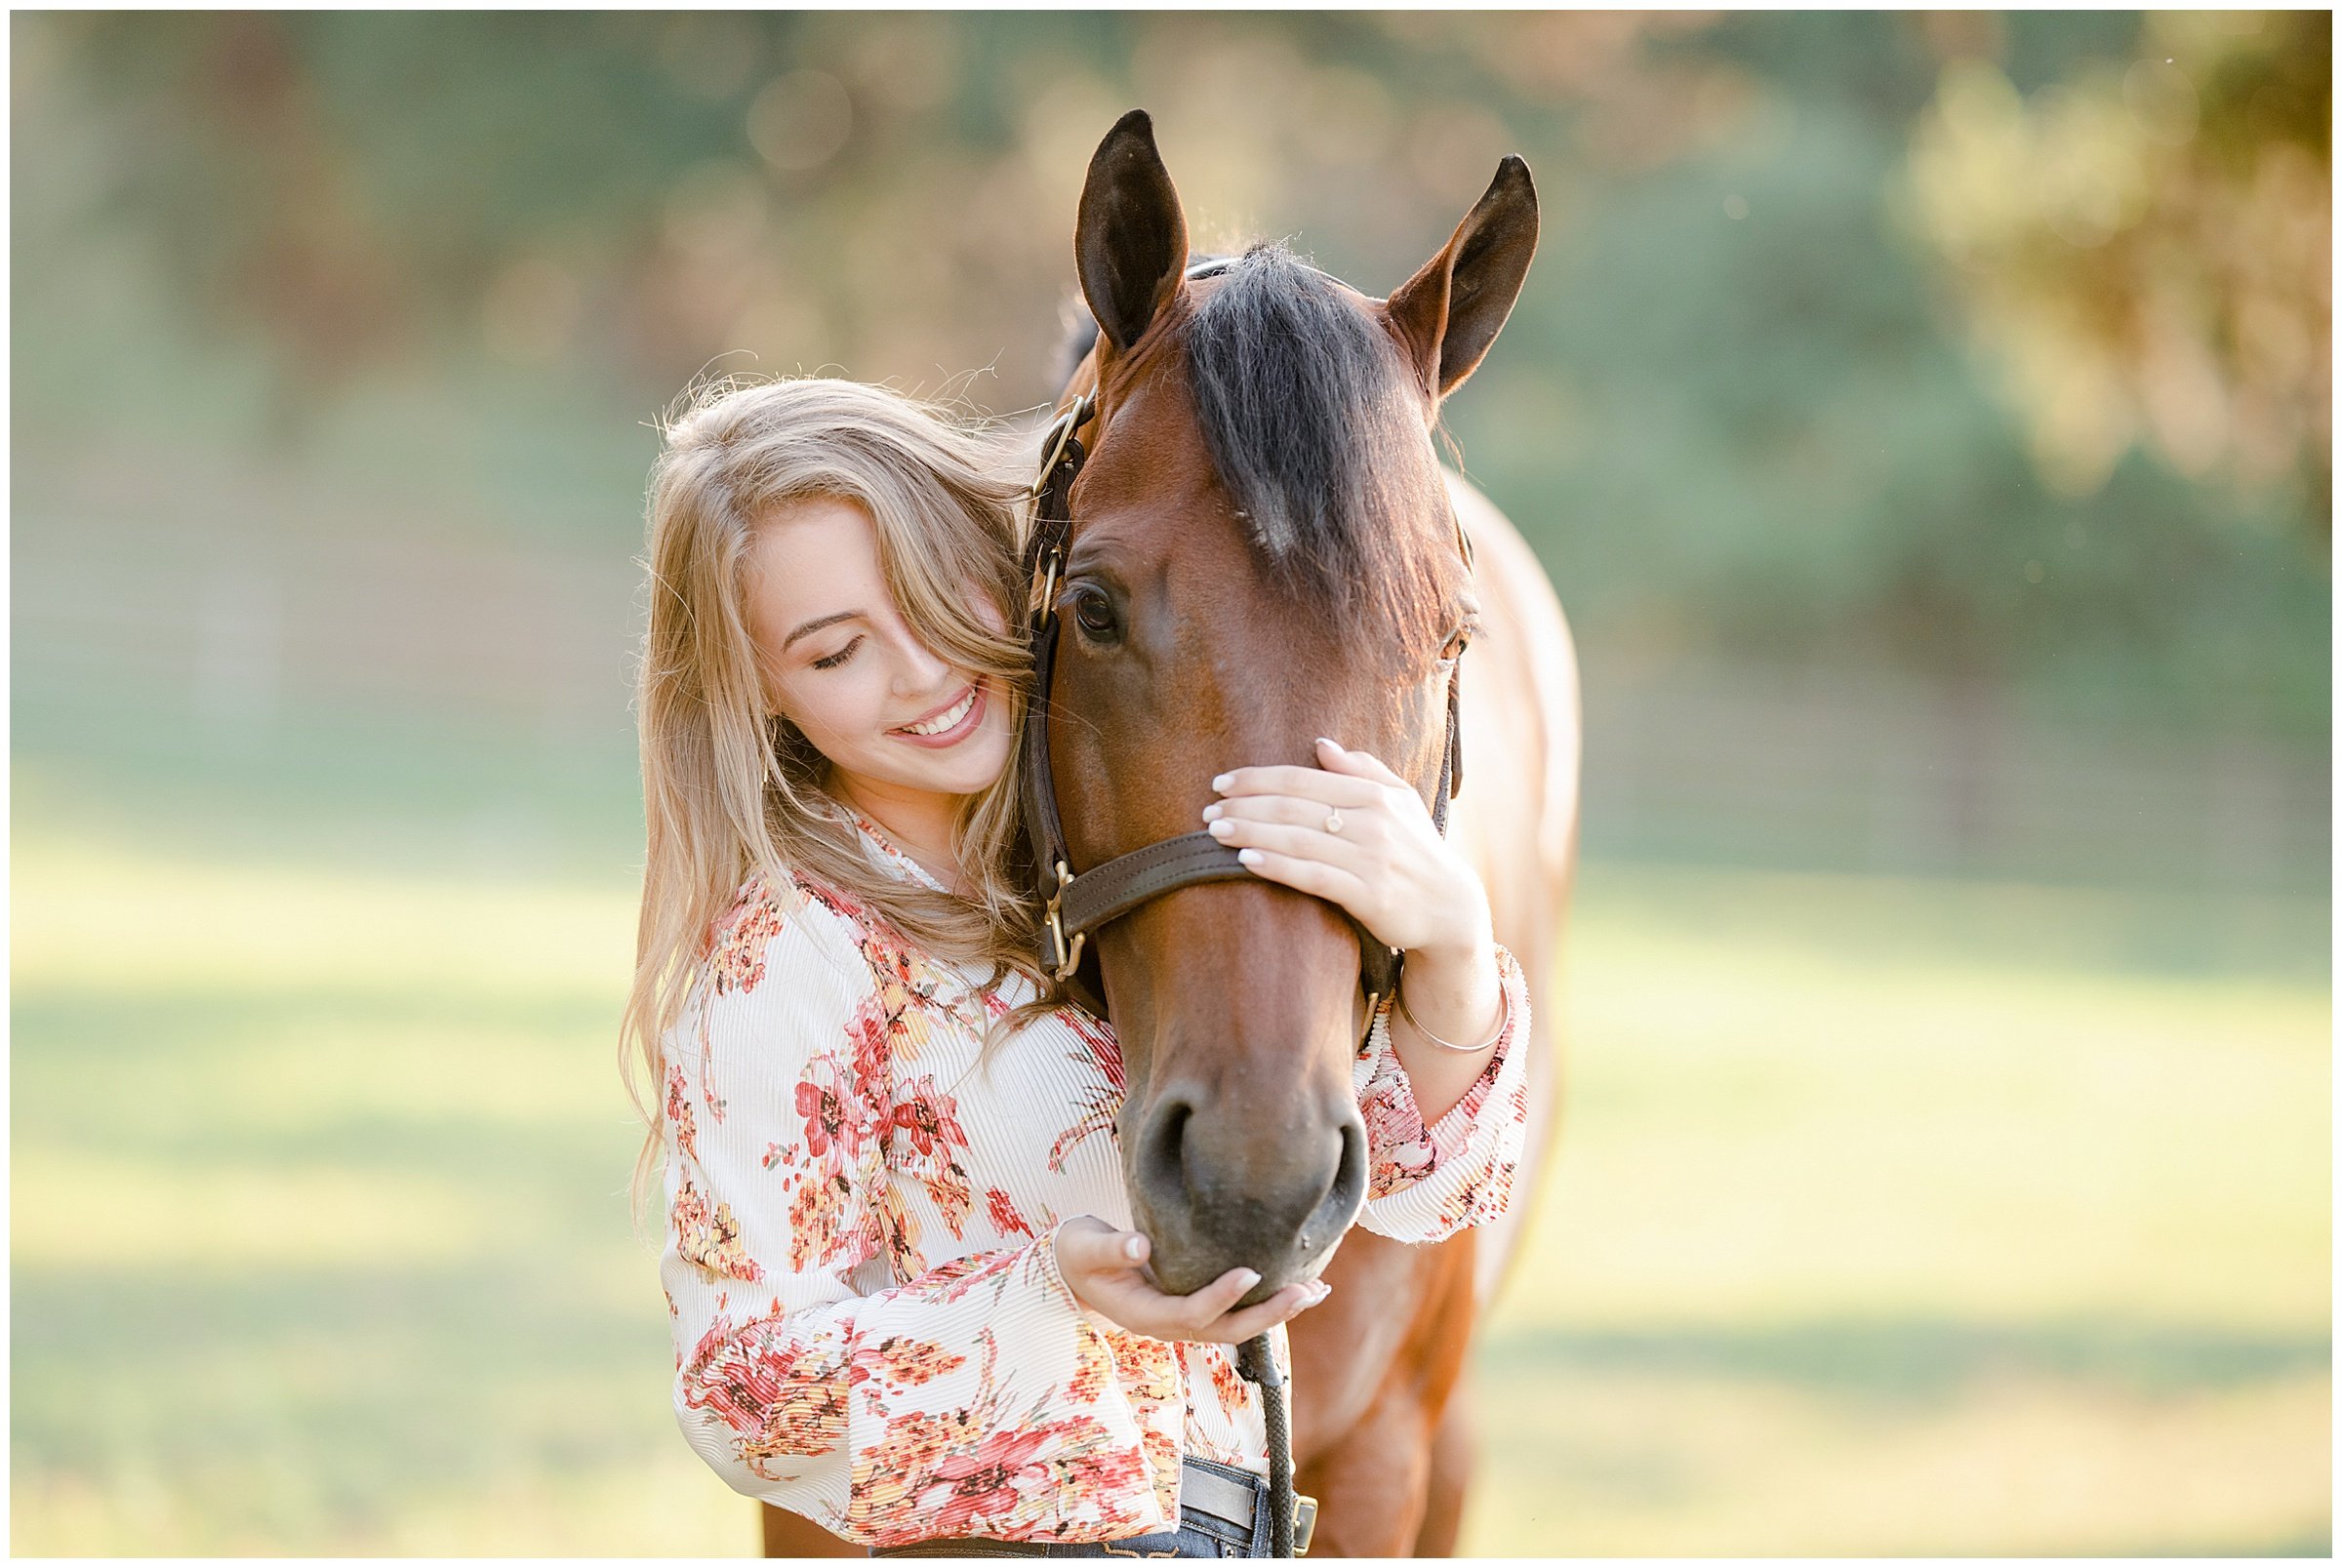
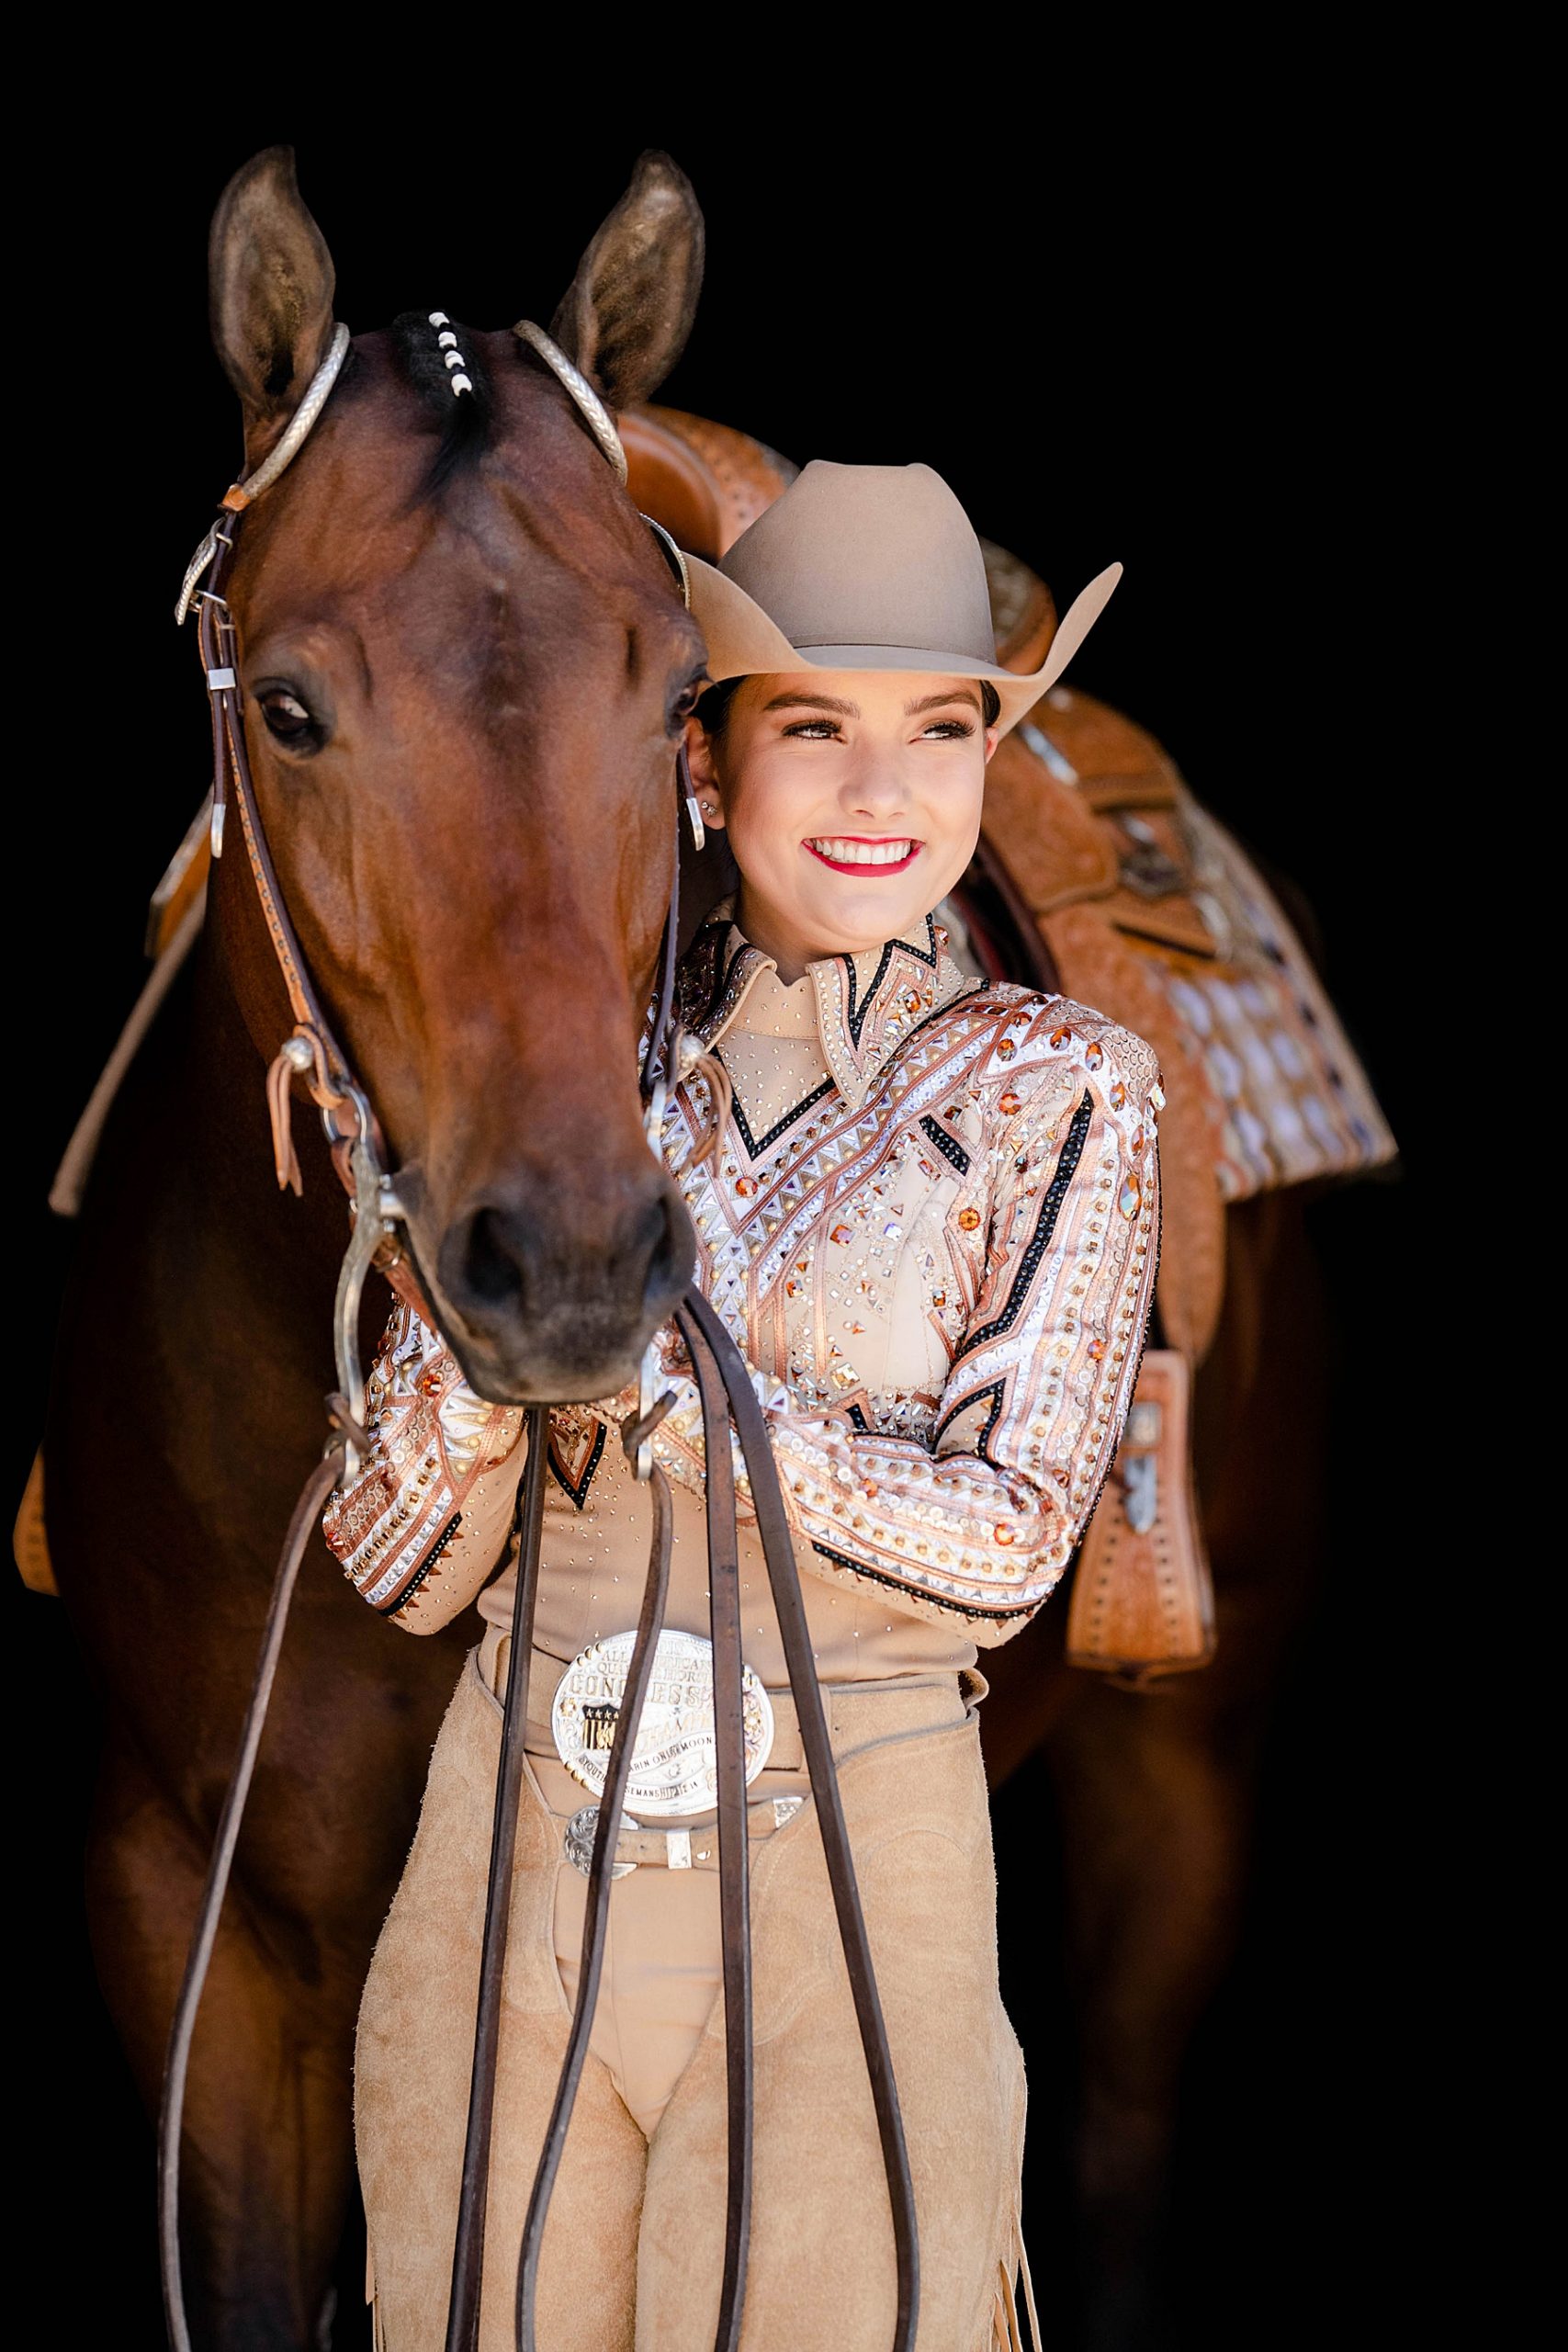
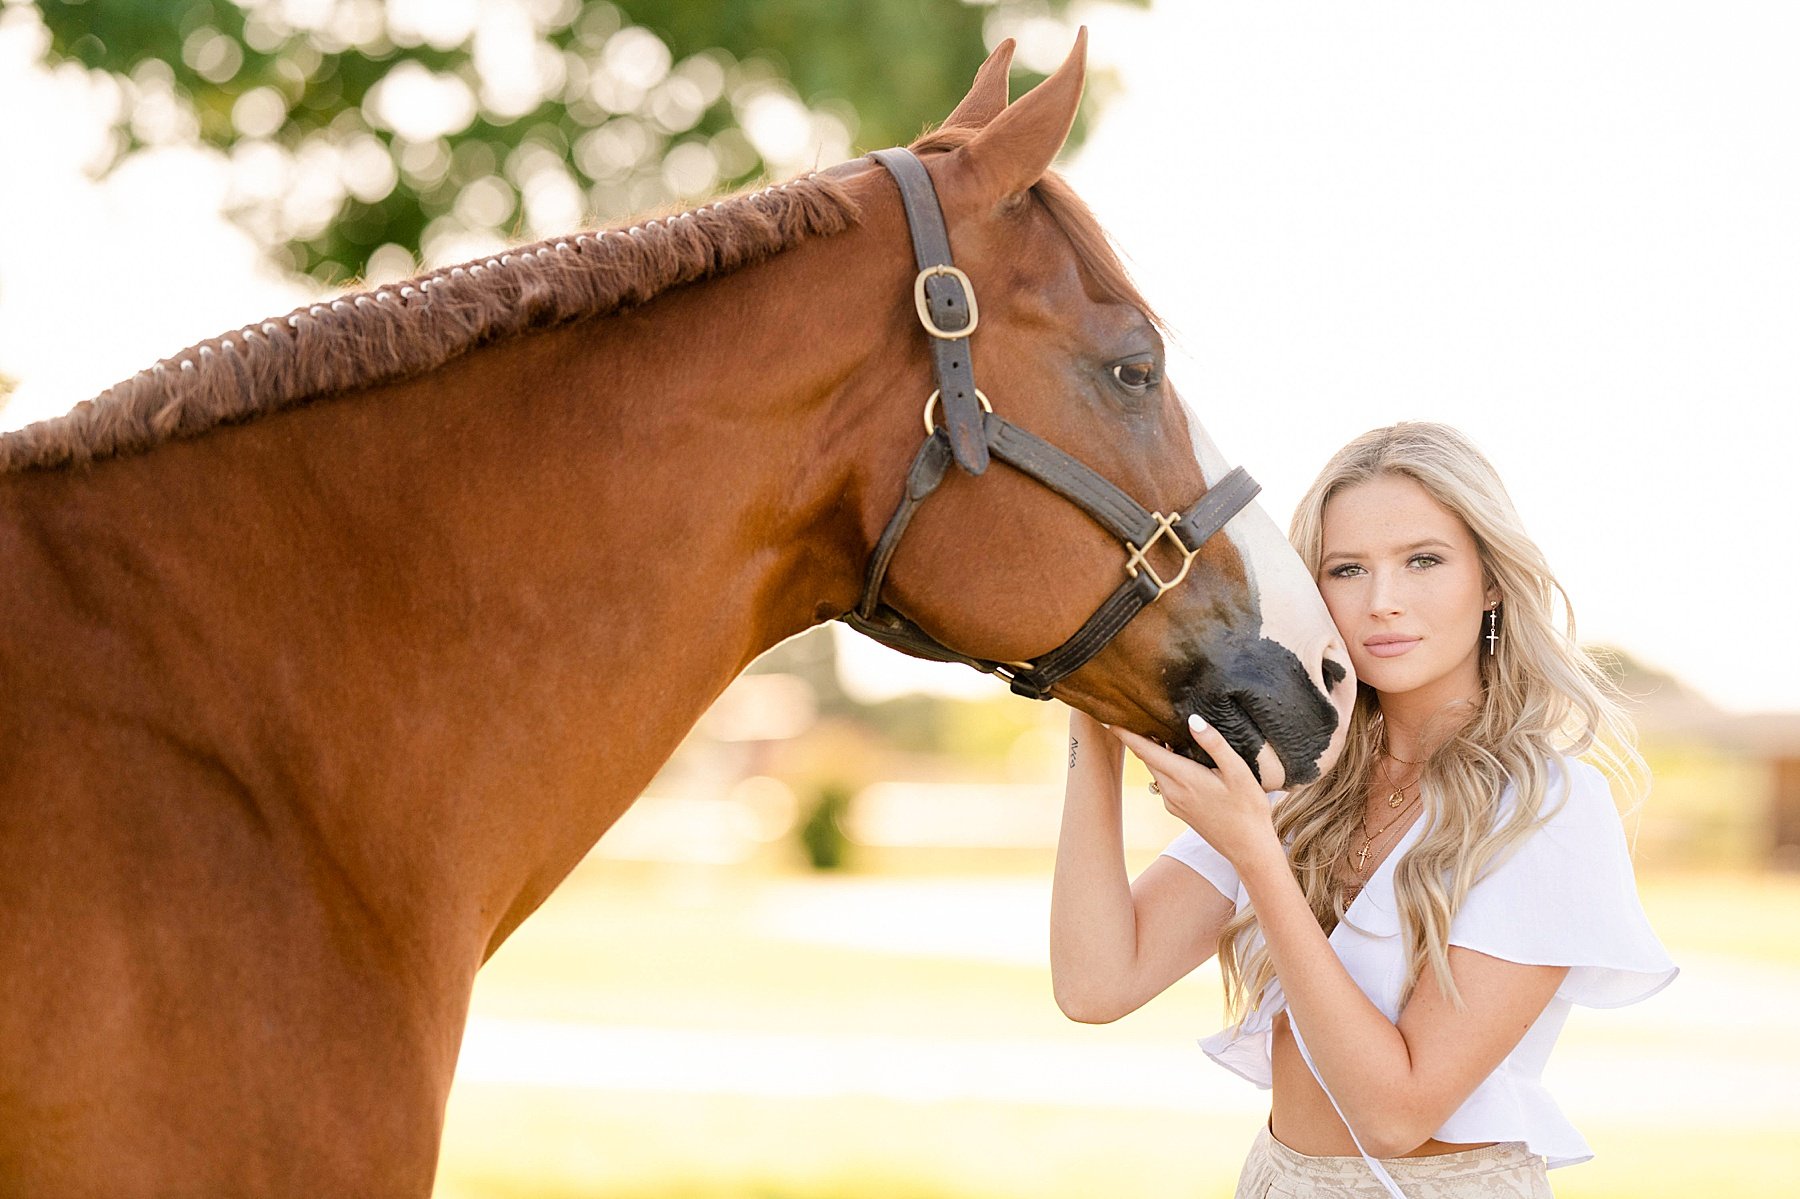
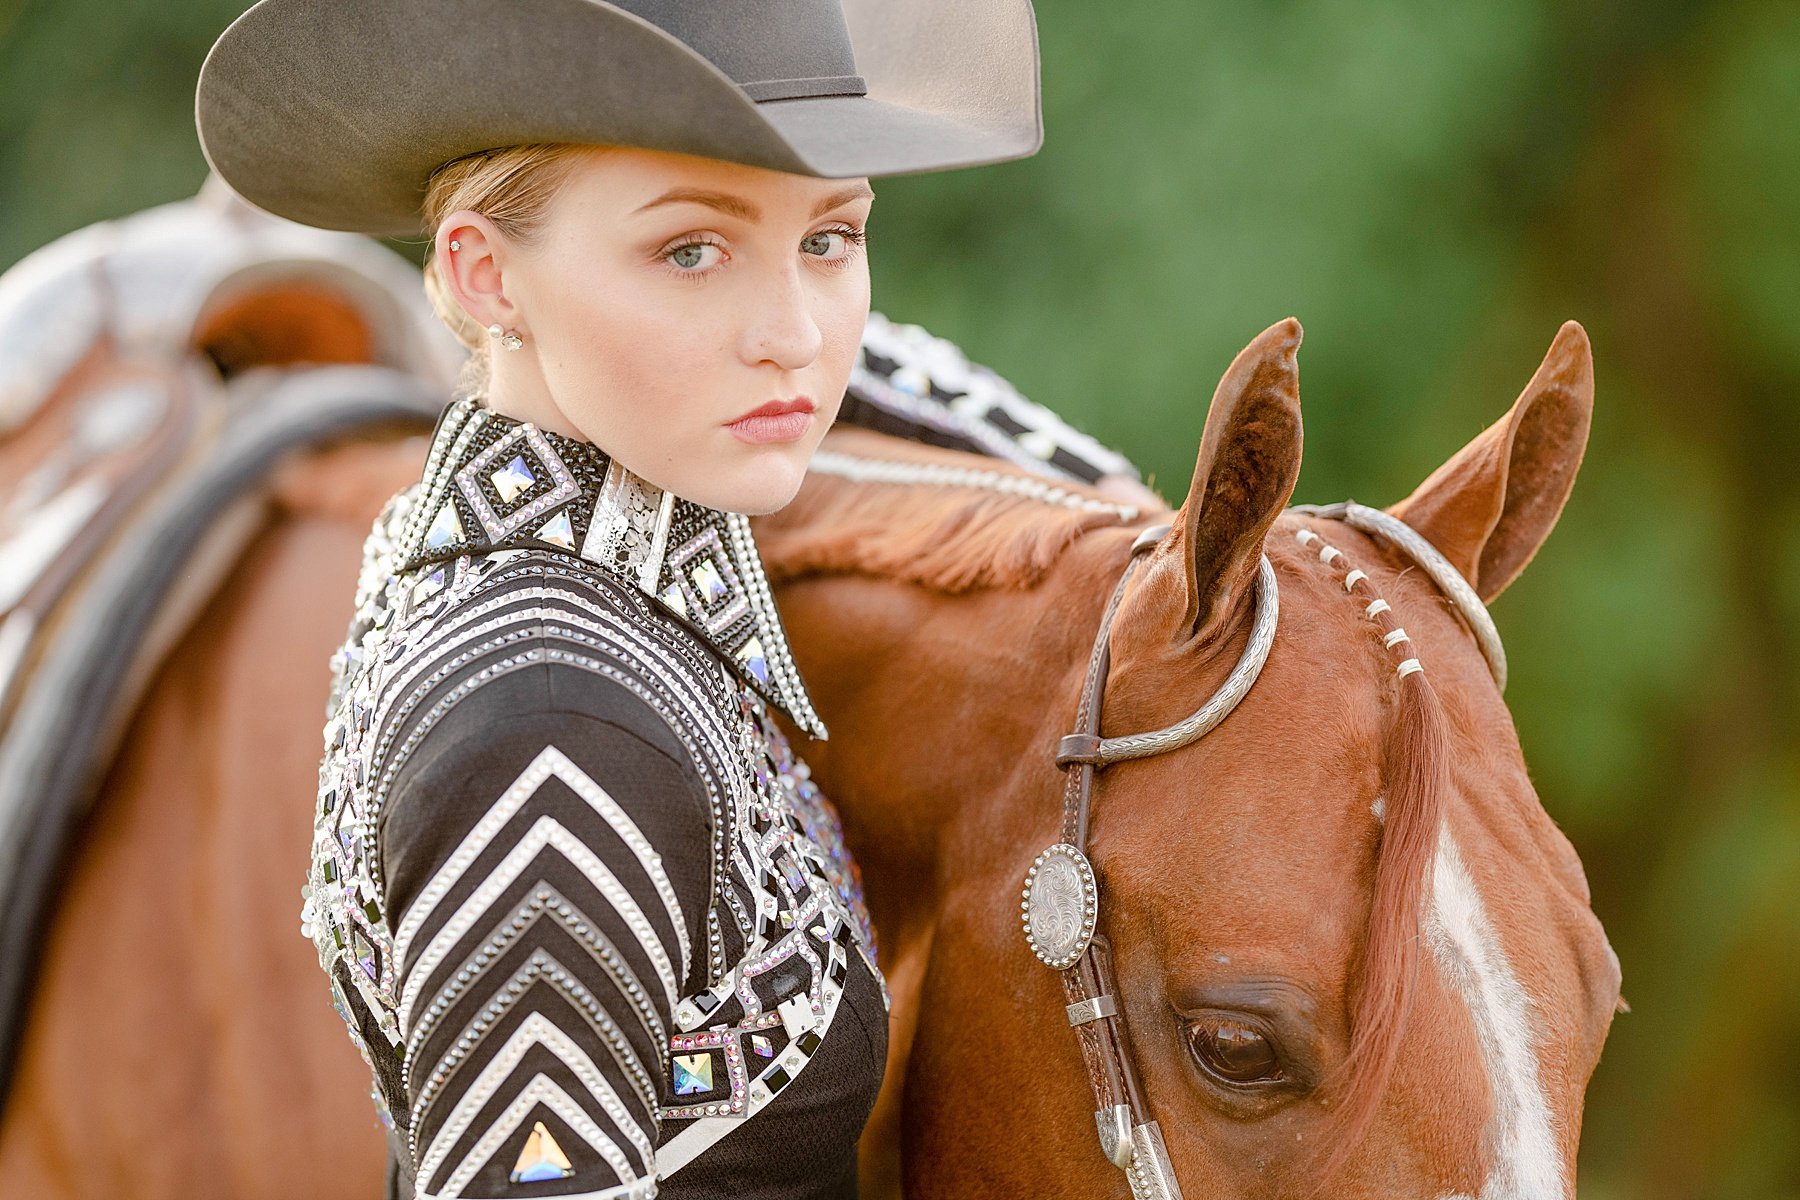
Camera-ready makeup isn’t about heavy coverage or overly bright colors. It’s about understanding how and what the camera is going to see. It’s about proper tone, accentuation, and shining from the inside out! It might seem counterintuitive, but doing your makeup for a photoshoot isn’t the same as doing your makeup for a social event. You have to keep in mind that the camera interprets light and colors differently than the naked eye. What may look great in person might look messy on camera. This is why it is always recommended to hire a professional makeup artist if you can. If you’re investing in professional photos you should also invest in having your makeup professionally done.
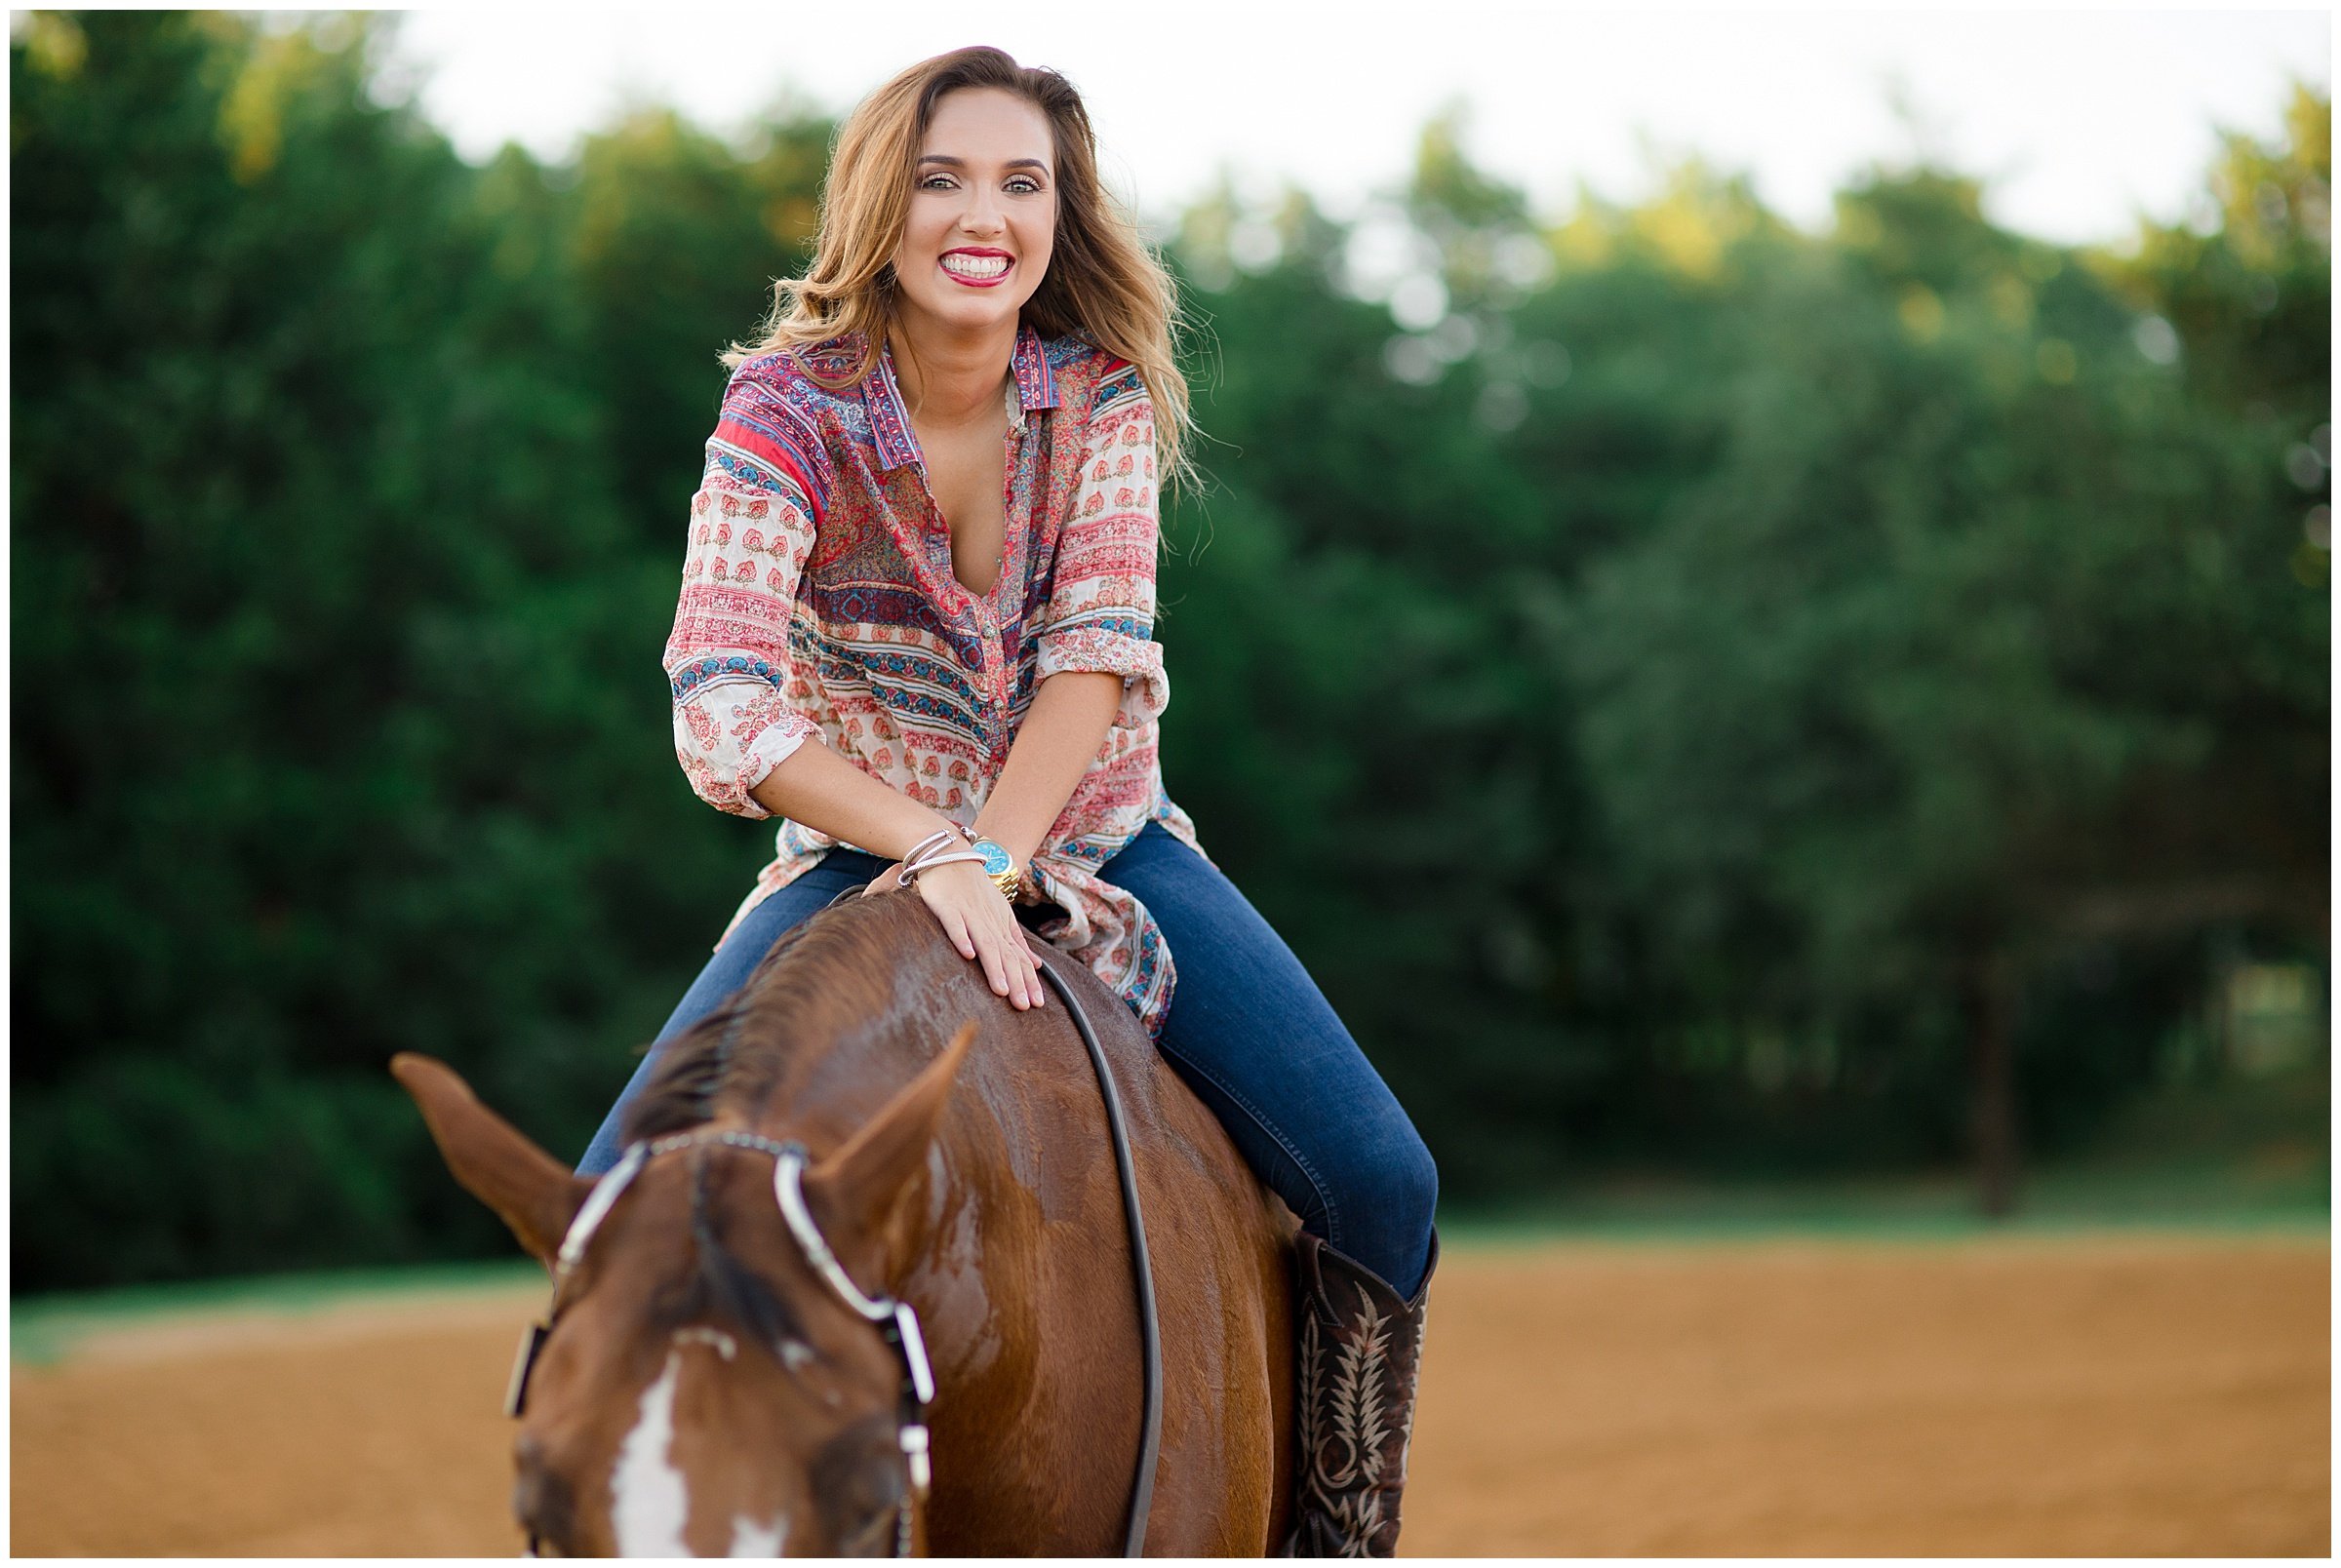
As an art form, makeup application is subjective and I respect that some people prefer to do their own makeup. Or, you may not have access to a professional makeup artist on the day of your shoot. Though I am going to give you tips below about how to use makeup, you don’t need to overdo it! When makeup is overdone or too heavy it shows up on the camera, as well as real life. But don’t worry, doing your own makeup for a photoshoot doesn’t have to be stressful – here are some tips and tricks for a flawless face!
Before we start, I must advise you to never use a new product on your face the week of your photoshoot in case you have an allergic reaction. Test every skincare and makeup product in advance to ensure your face can tolerate it.
1. Preparation
You always want to start with a fresh, clean face and a good primer. Great skin is the foundation of any makeup look. The night before your shoot you should exfoliate off any dead skin and use a hydrating face mask. This will make your skin look plump and refreshed for the following day.
Products I recommend:
Kate Somerville ExfoliKate Intensive Pore Exfoliating Treatment
SUMMER FRIDAYS Jet Lag Mask
FRESH Rose Face Mask
2. Use an HD foundation
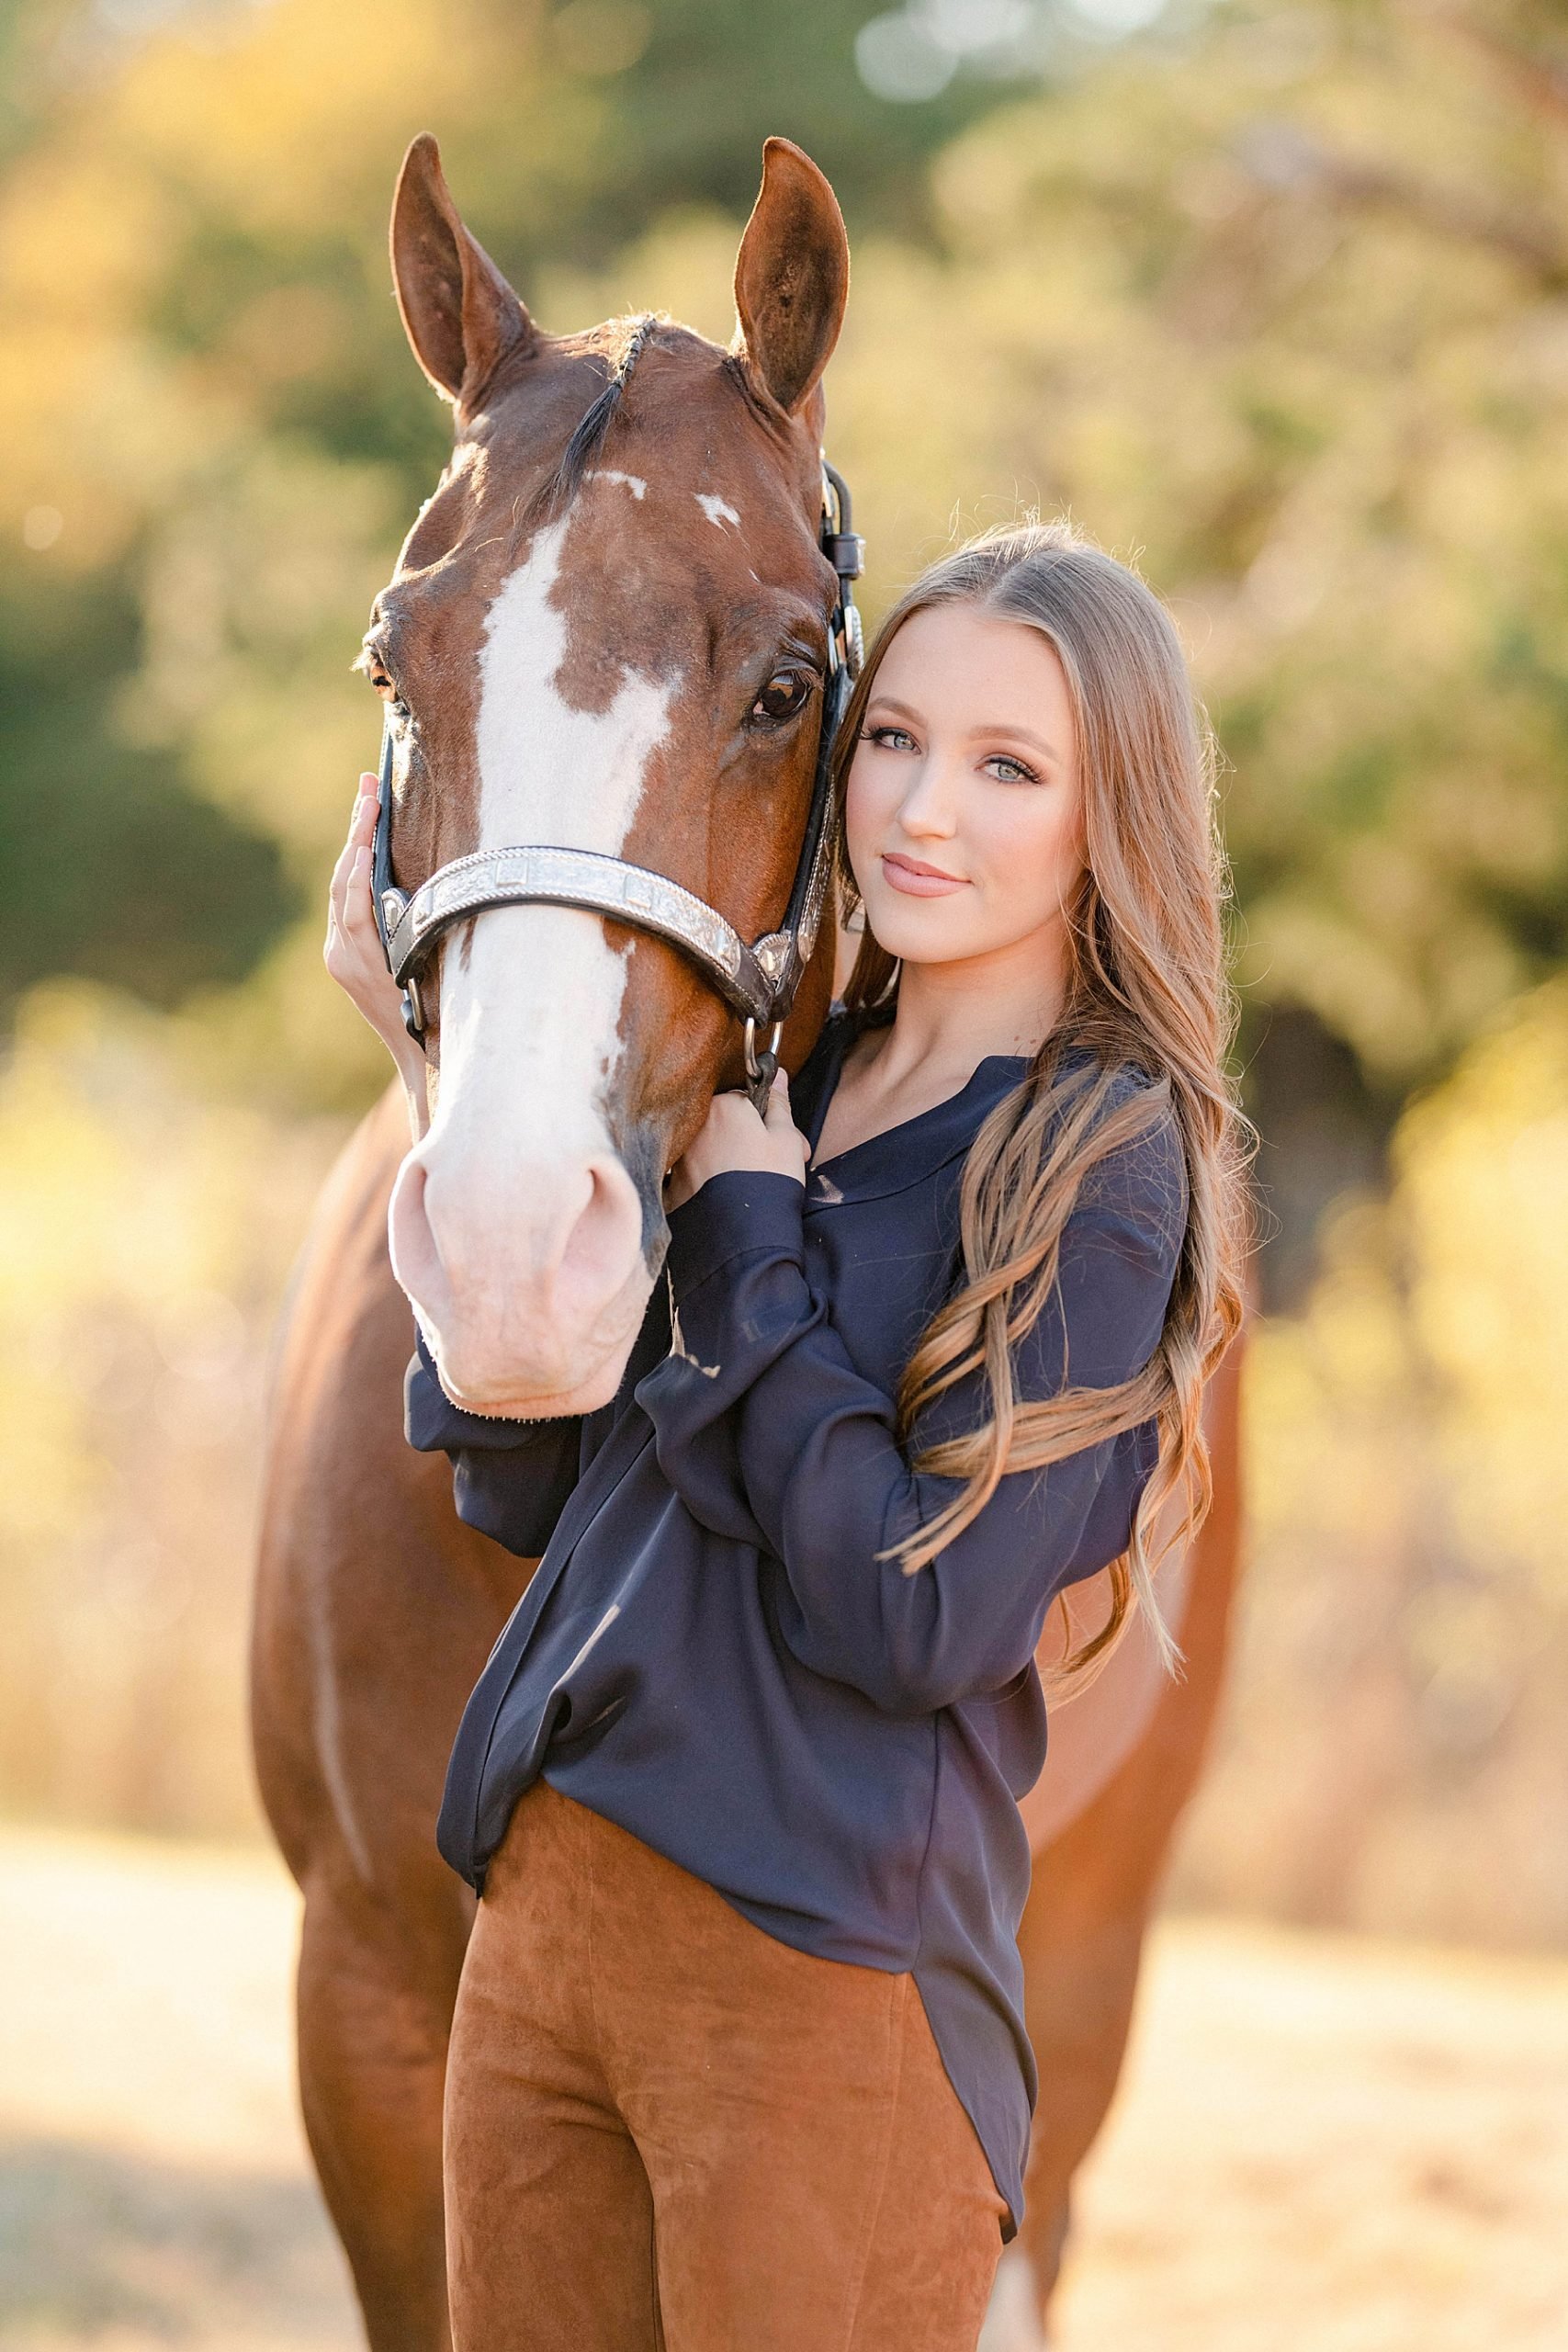
HD foundations photograph beautifully and will give you that flawless, airbrushed look on camera. Don’t overdo the base of the makeup. Apply a thin layer on the face as well as your neck and conceal any imperfections you want to cover up. My favorite camera-friendly foundation is the Makeup Forever HD foundation.
Products I recommend:
Embryolisse Lait-Crème Concentré, Face Moisturizer & Primer
Makeup Forever HD Foundation
3. Stay away from SPF!
SPF can cause a white “flashback”, which can make your face appear washed out in photos. To avoid that white cast use foundations and powders that don’t contain any SPF.
4. Wear false lashes
The camera will pick up every little detail so be sure to pay extra attention to your lashes. False lashes always bring the makeup look together and they photograph beautifully. If you aren’t comfortable with wearing false lashes, lengthen and thicken your lashes with a couple coats of mascara or try applying individual lashes to the outer corner of your eye.
Products I recommend:
Ardell Demi Wispies
Kevyn Aucoin ‘The Volume Mascara’
Kevyn Aucoin Eyelash Curler
5. Bring powder with you
If you are prone to a T-zone shine, then remember to take some powder with you to touch up in between outfit changes. This will keep the skin looking fresh and not shiny or oily.
Products I recommend:
Laura Mercier Translucent Powder
6. Don’t be afraid of blush
The camera can wash out up to 30% of color on your face. This is why you shouldn’t be afraid to go a bit brighter with your blush. It brings the life back into the face as well as bringing the whole makeup look together. Avoid blush with too much sparkle or shimmer and opt for something with a matte finish.
7. Blend, Blend, Blend!
Every step of the way, blend your makeup. Lines of demarcation stand out on camera, so make sure you spend extra time on this step.
Products I recommend:
8. Lock it down
The final step is one of the most important. After you’ve perfected your look, make it stay put with a makeup setting spray.
For Normal Skin:
Skindinavia The Makeup Finishing Spray ‘Bridal’
Urban Decay All Nighter Makeup Setting Spray
For Dry Skin:
Tatcha Luminous Dewy Skin Mist

EXTRA TIPS
- When you are having photos taken, it is not the time for experimenting with new makeup shades or trends. Stick with a look that is natural to you and practice beforehand.
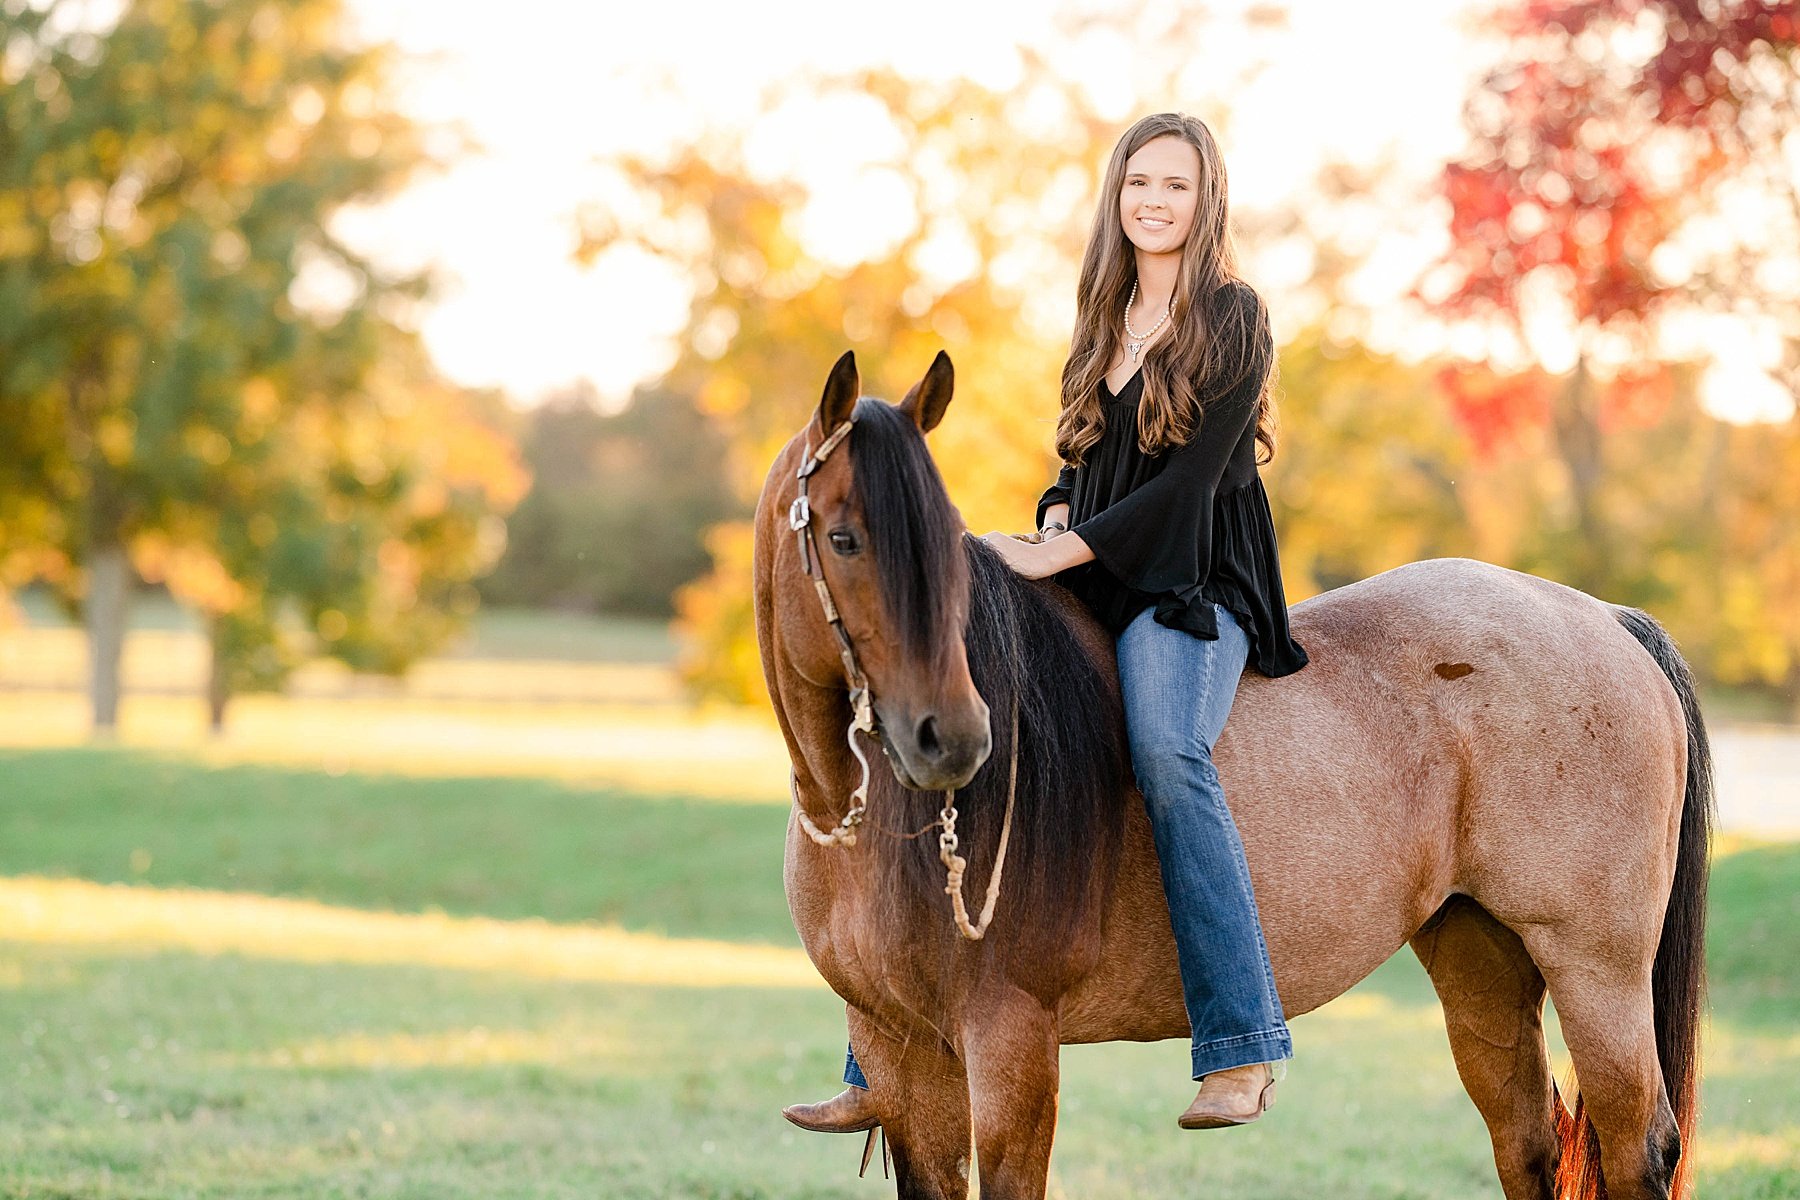
- The best light to apply makeup under for photography is natural light, because if the makeup looks good in natural light, it will look nice in almost any other light.
- Don’t forget to pluck, tweeze, wax, or groom any areas of your face that need that attention a day or two before so your skin doesn’t look red or swollen the day of the shoot.
- If your photoshoot is outside, you should do a trial run with your makeup by applying it and then going outside to make sure it looks good in natural daylight.
Shop Devin’s Amazon page here. Keep up with Dev on Instagram here.
